
 Loudspeaker Lab
Loudspeaker Lab
Loudspeaker Lab
The shape to actually cut, at true scale. Both ends are drawn full size, so the angle on the screen is the angle to cut. Worth having open at the bench alongside the strip itself.
Only the redundant middle of the strip is cut away for the drawing. Both cuts are parallel, so the blank is a parallelogram, not a trapezoid. That's the single most common mistake.
The calculator above is loaded with these exact numbers: a 5″ drum (measured, not just assumed), 2.75″-wide stock, 25″ of covered length and a 2″ tuck at each end. They come from an actual strip, cut and wrapped on the bench, photographed at each step.
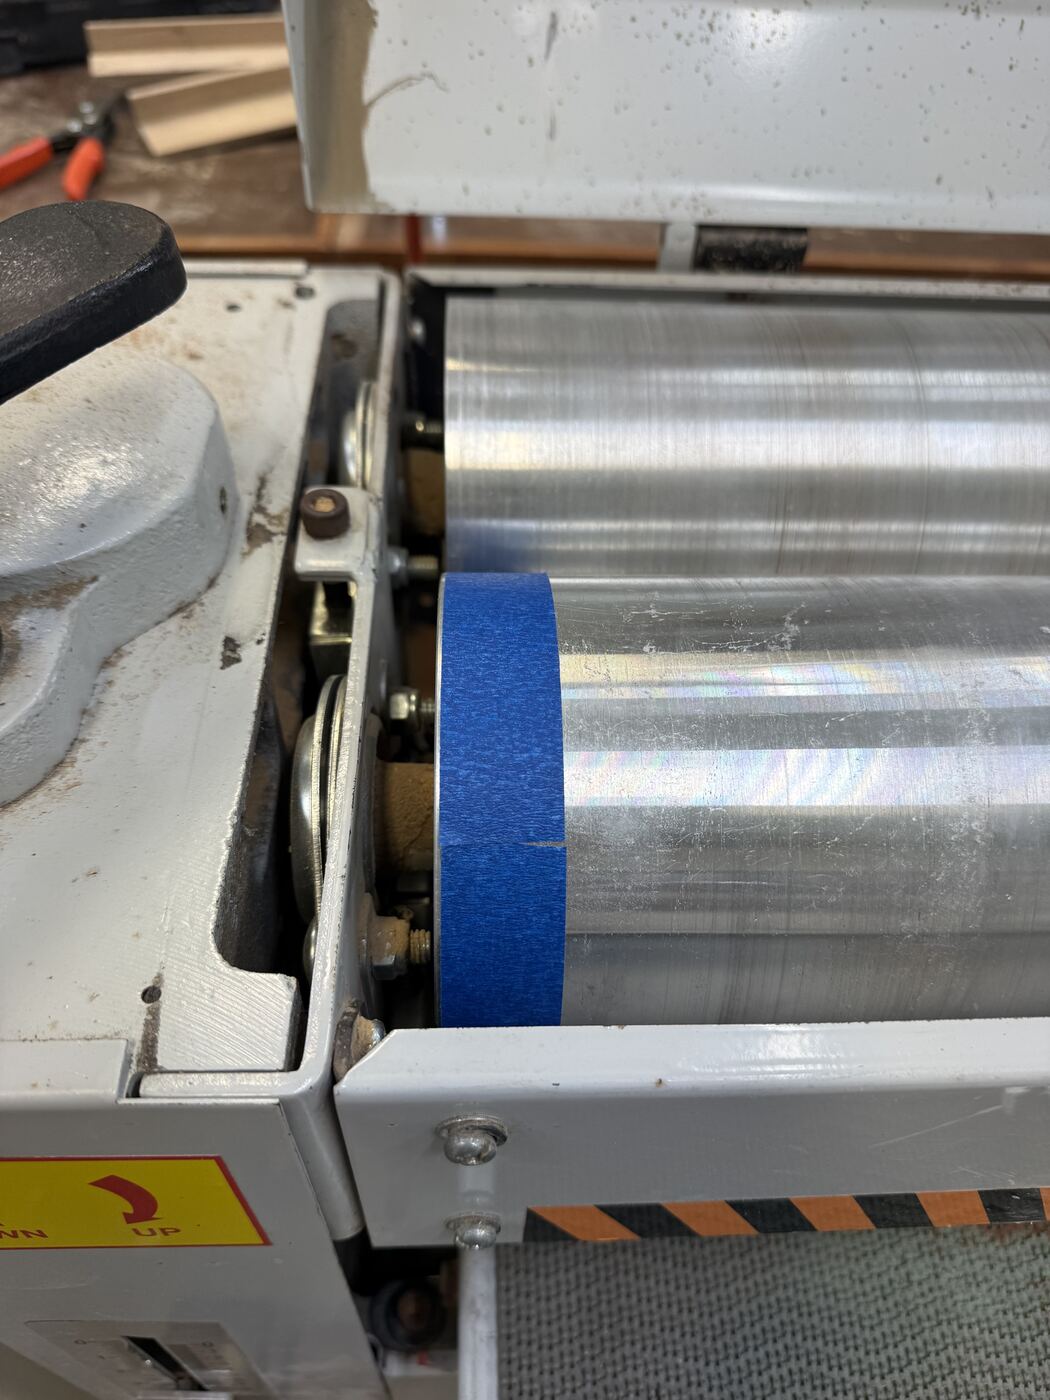
A single loop of tape around the drum, marked where it meets itself, is the measurement that actually matters: it captures the real circumference, including any lagging on the roller, which a diameter caliper can't see. This is the same method the Circumference field above recommends. This drum measures out to the nominal 5″ diameter, so C = π×5 = 15.708″.
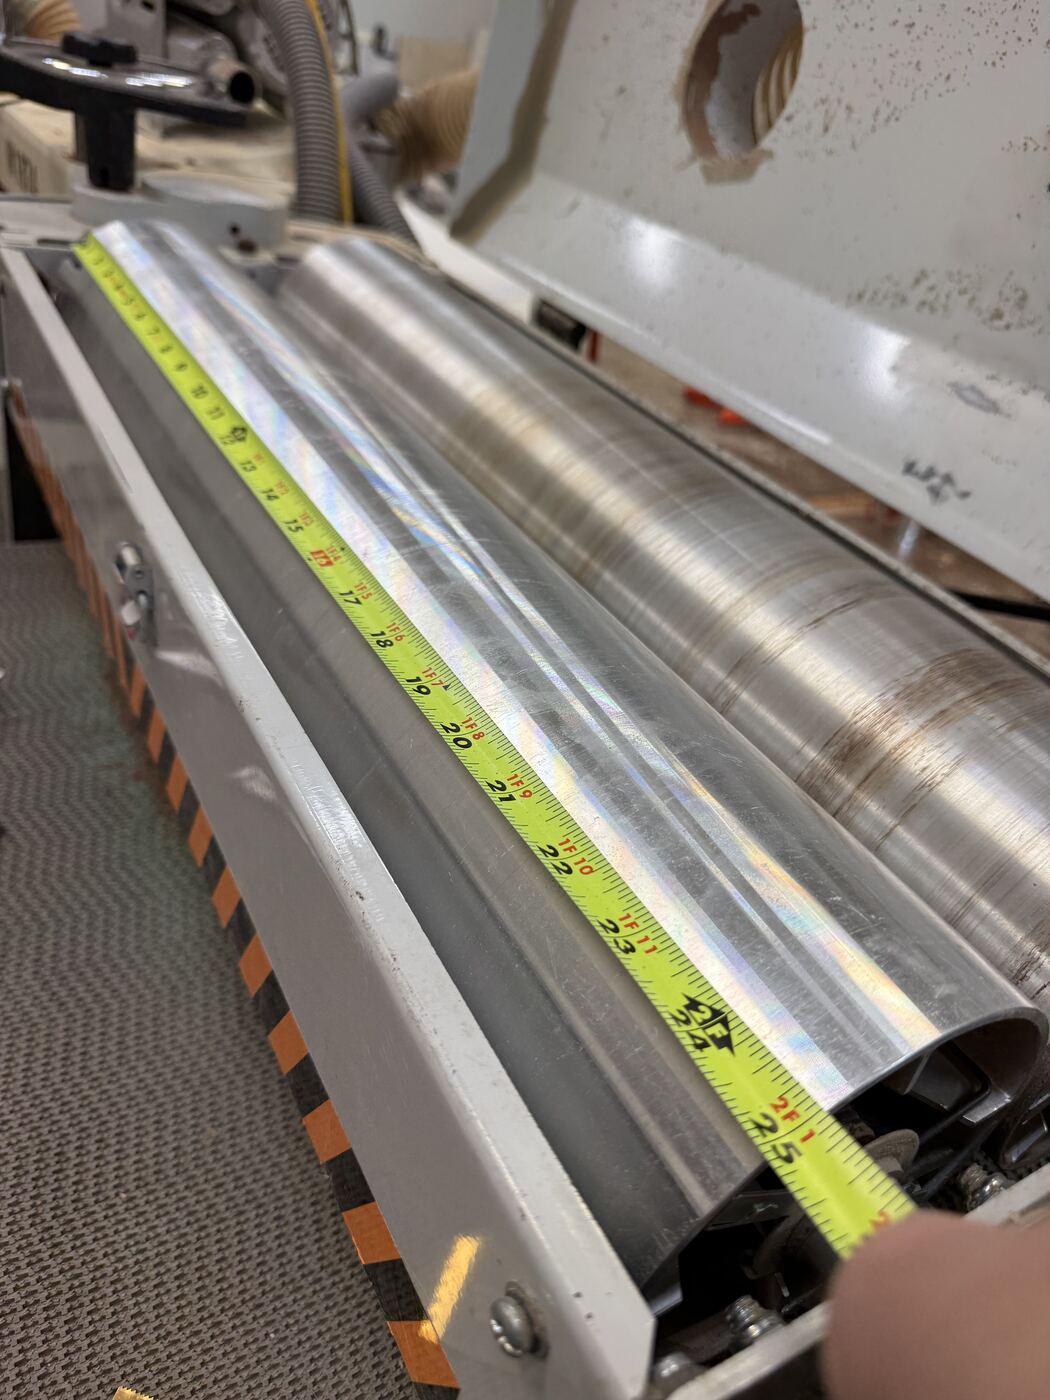
Run the tape along the roller to the part the abrasive needs to cover. That's usually a little short of the full roller, since the end clamps take up some of it. This one covers 25″, the Covered length L field.
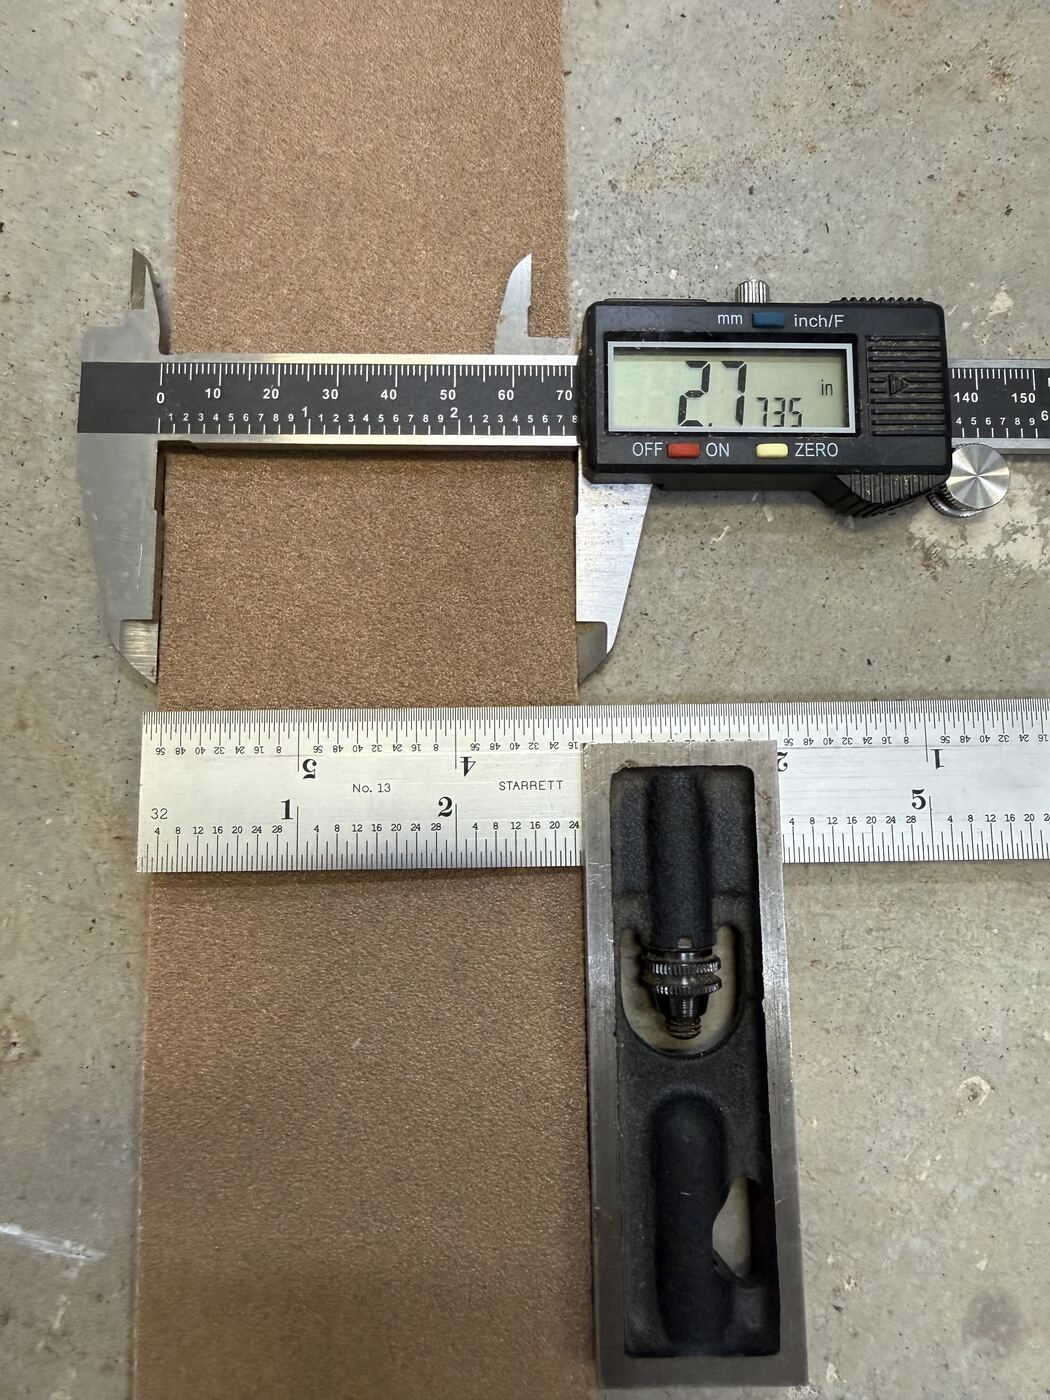
Digital calipers across the roll confirm the actual width rather than trusting what's printed on it. Rolls run a hair off nominal. This stock measured 2.75″, the Roll width W field.
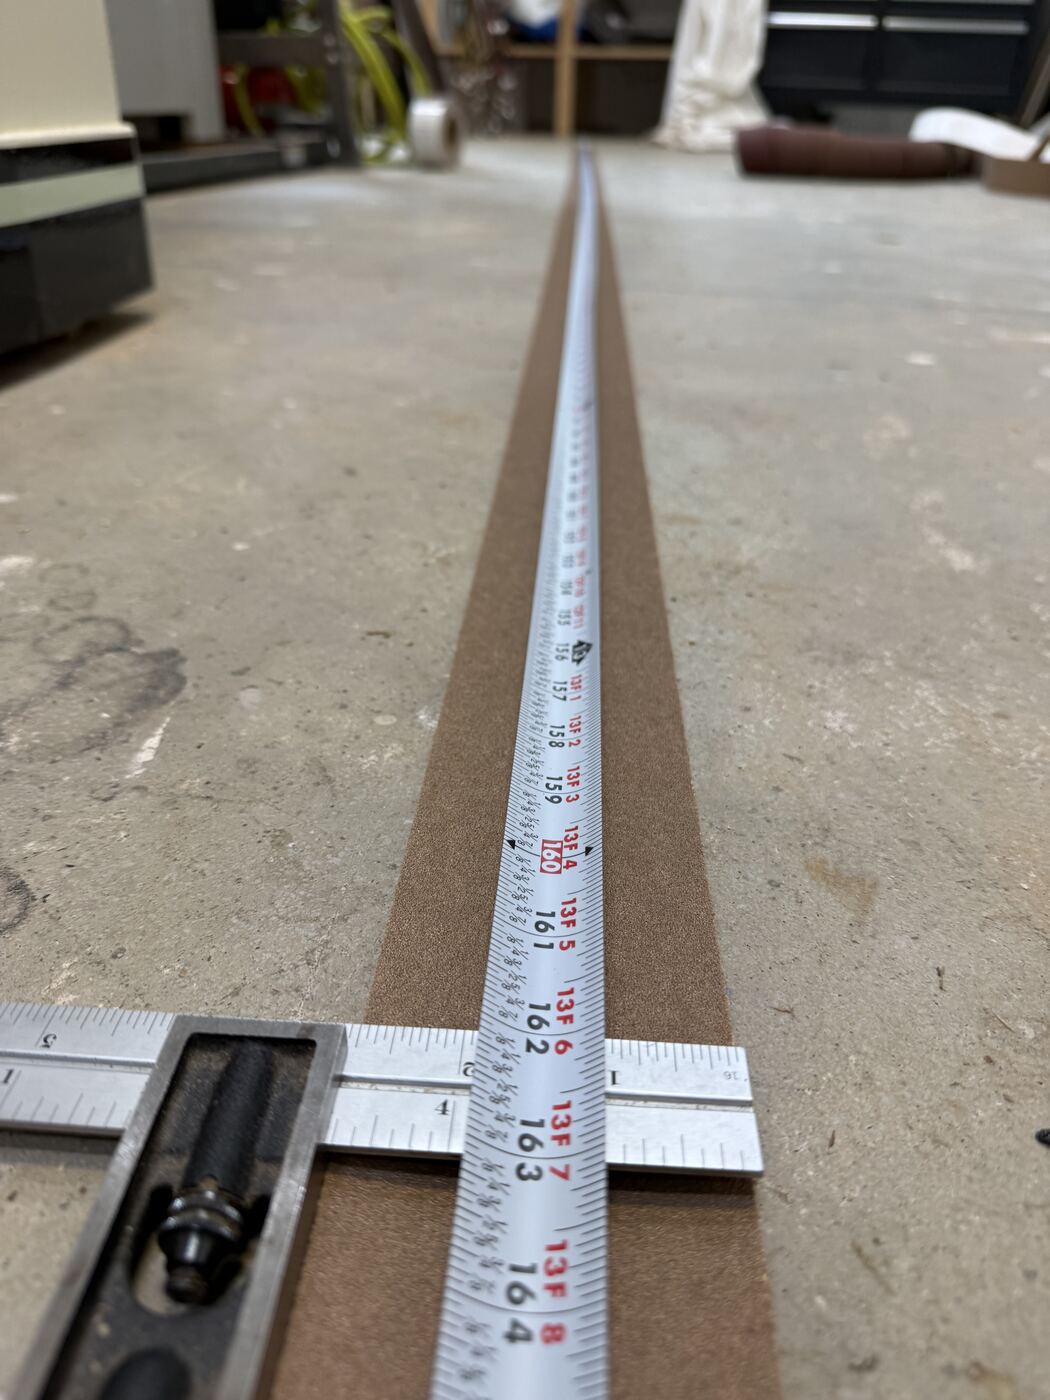
With C, L and W set, the model says this strip needs a 162‑17/64″ blank (162.27″, including the 2″ tuck at each end). That's long enough that it's easier to run the tape the full length on the floor and mark the far end than to eyeball it off a shorter rule.
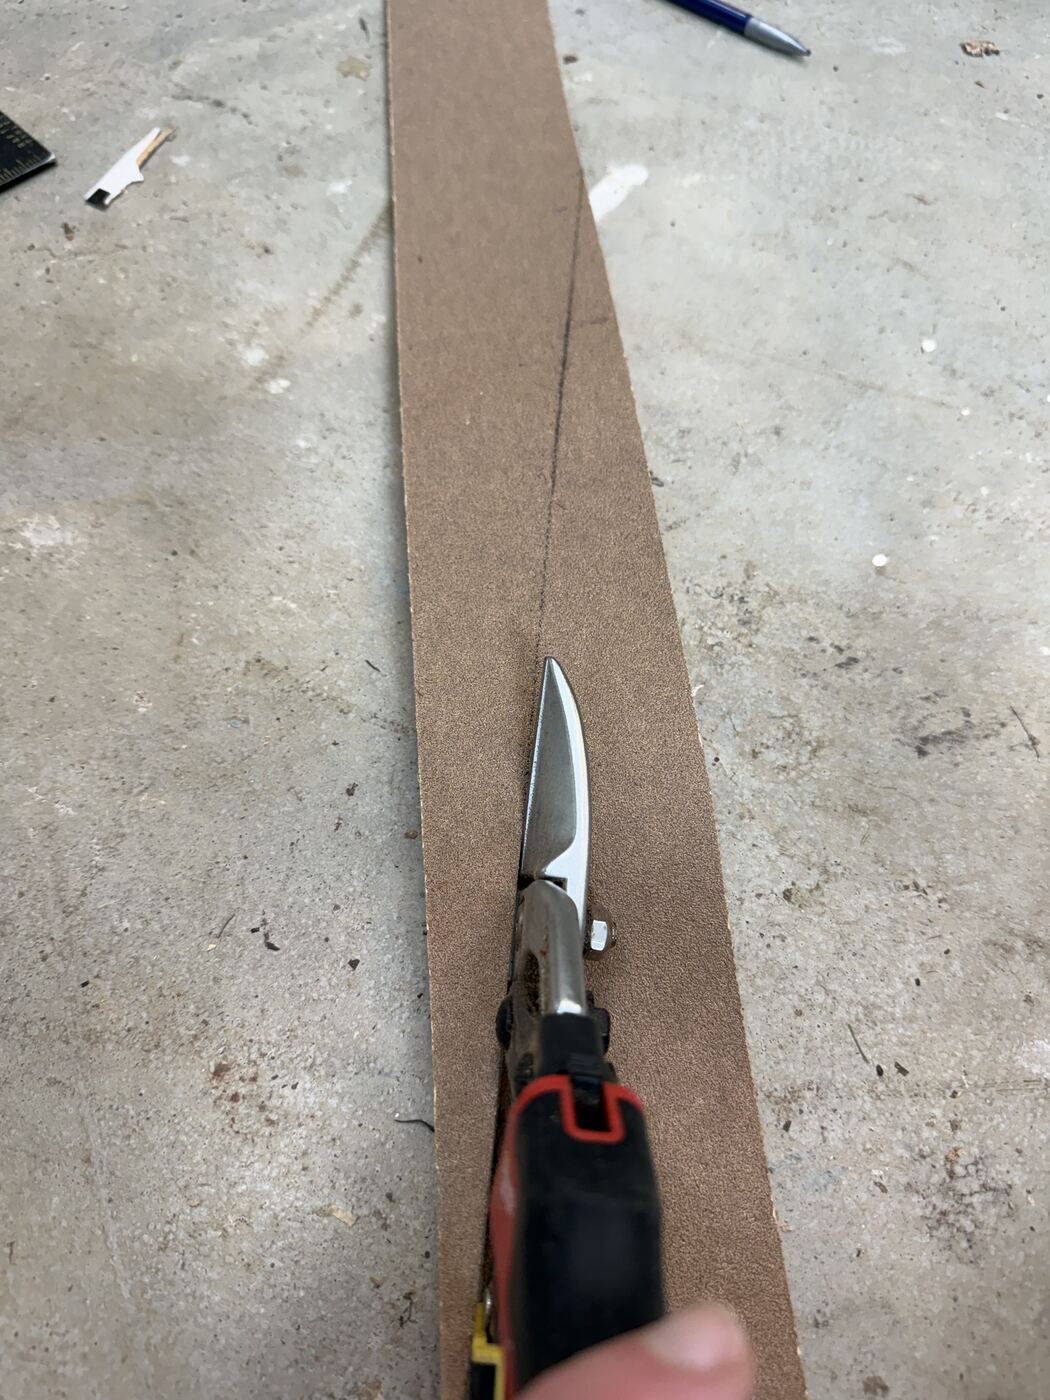
The mark sits 15‑15/32″ (15.465″) along one long edge from the corner. That's the ruler trick from the bench card above. Cut straight from the opposite corner to that mark, and the cut itself measures 15‑45/64″ (15.708″), exactly πD. That's the number worth checking with a tape, because it's the one that has to be right.
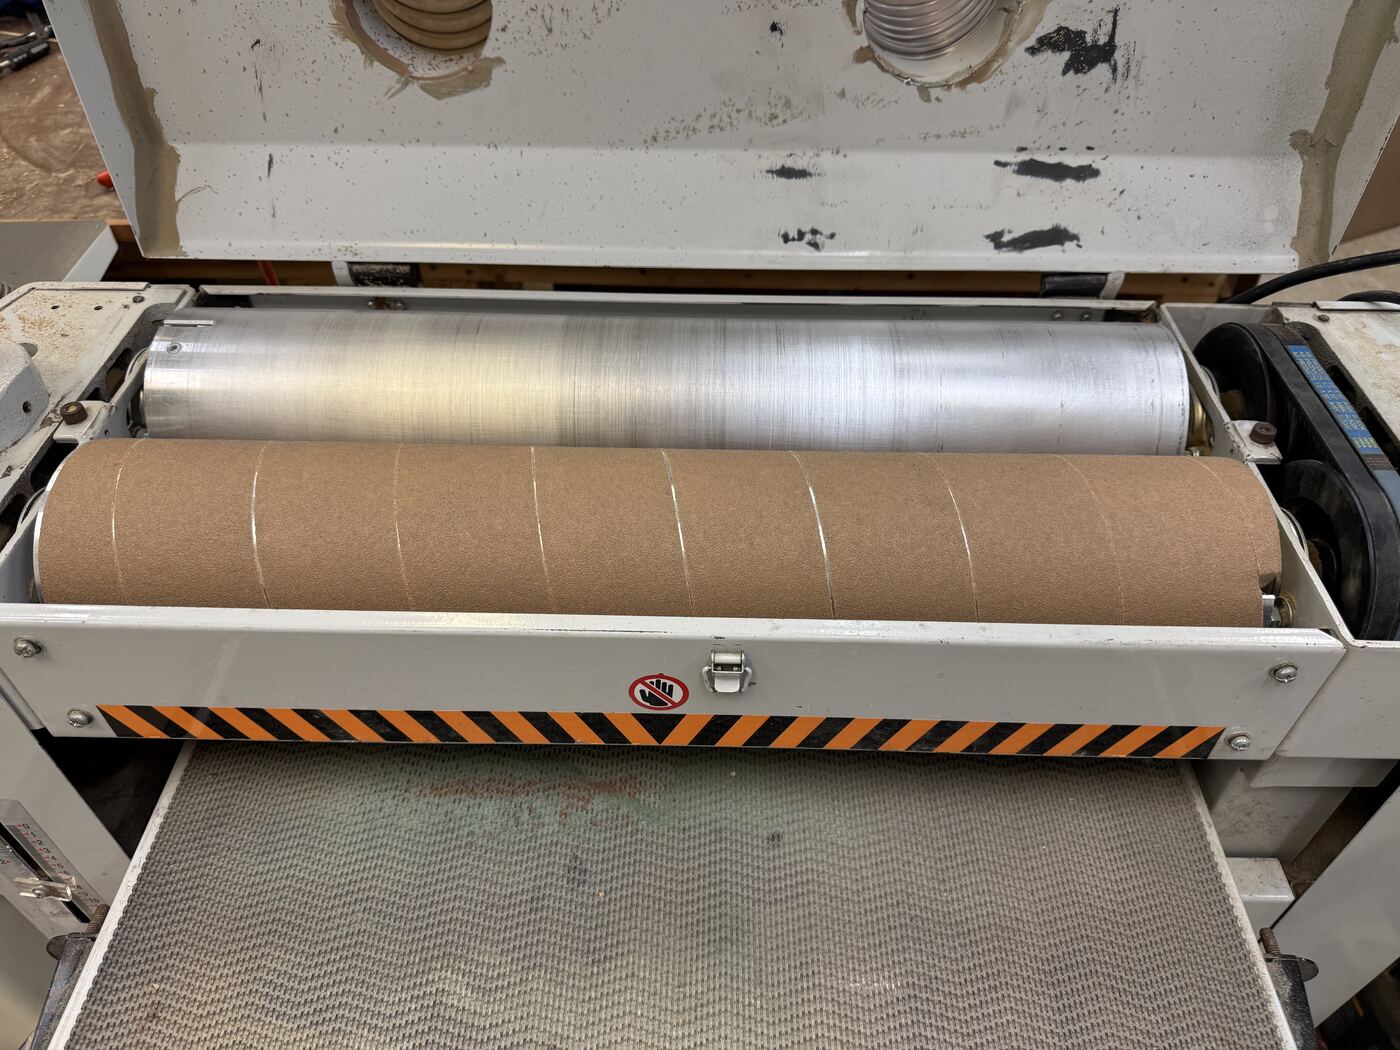
Wrapped from one end with each turn butted against the last, the strip advances 2.793″ per revolution and takes just under 9 full wraps to cover the 25″ drum. You can see it here as clean, evenly spaced bands with no gap and no overlap.
The abrasive alternates shade once per turn so you can count the wraps. Orange marks the two angled cuts. Notice how each one lies flat along the rim rather than running off the end of the drum.
The drum surface cut open along one line and laid flat. This is the view that shows correctness directly: the stripes must tile the rectangle with no bare slivers and no double-covered bands, and a stripe leaving the top must re-enter at the bottom exactly in line, because those two edges are the same circle on the real drum.
These checks don't evaluate the formula again. They measure the resulting wrap by unrelated means and compare. Everything re-runs whenever an input changes.
A miscut shows up one of two ways depending on how you lay the strip. If you keep the seams tight, the pitch stays right and the error appears at the ends: a corner of the paper hangs off the drum or falls short of it. If instead you trust the ends and seat both cuts against the rims, the error accumulates in the seams, turn after turn.
And because the cut length is the circumference, an error in measuring the drum feeds through to the cut one-for-one:
Roll width is a purchasing decision, so here is what each common width would mean on this drum.